HOME // LAUNDRY MAKEOVER FOR UNDER $200
Alright guys – I’ve received countless messages that you can’t wait to see this reveal, so I’m super excited to share this one with you! I’ve wanted to tackle this project for quite some time because the laundry set up was less than ideal. I’ve had much worse in apartment living, but now that we have our own home, I wanted to make this functional for my height (short girl problems) and add storage solutions we desperately needed.
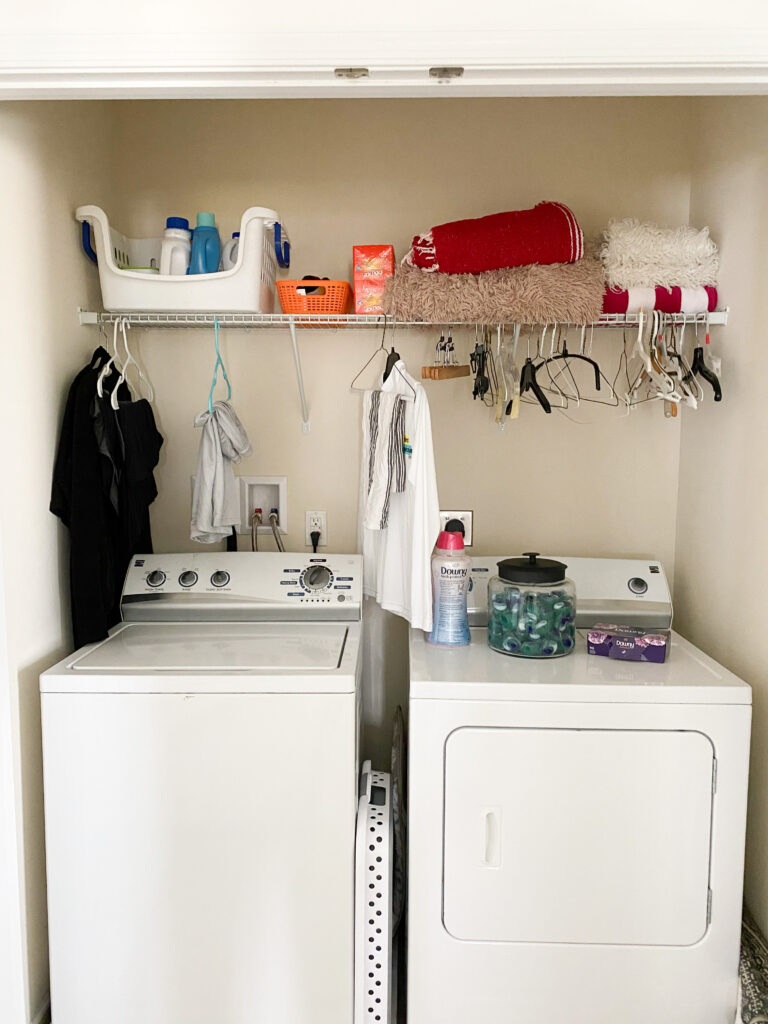
Peep this before photo… pretty bland and that wire shelving was the bane of my existence.
The best part about this one? I did it all for around $200!
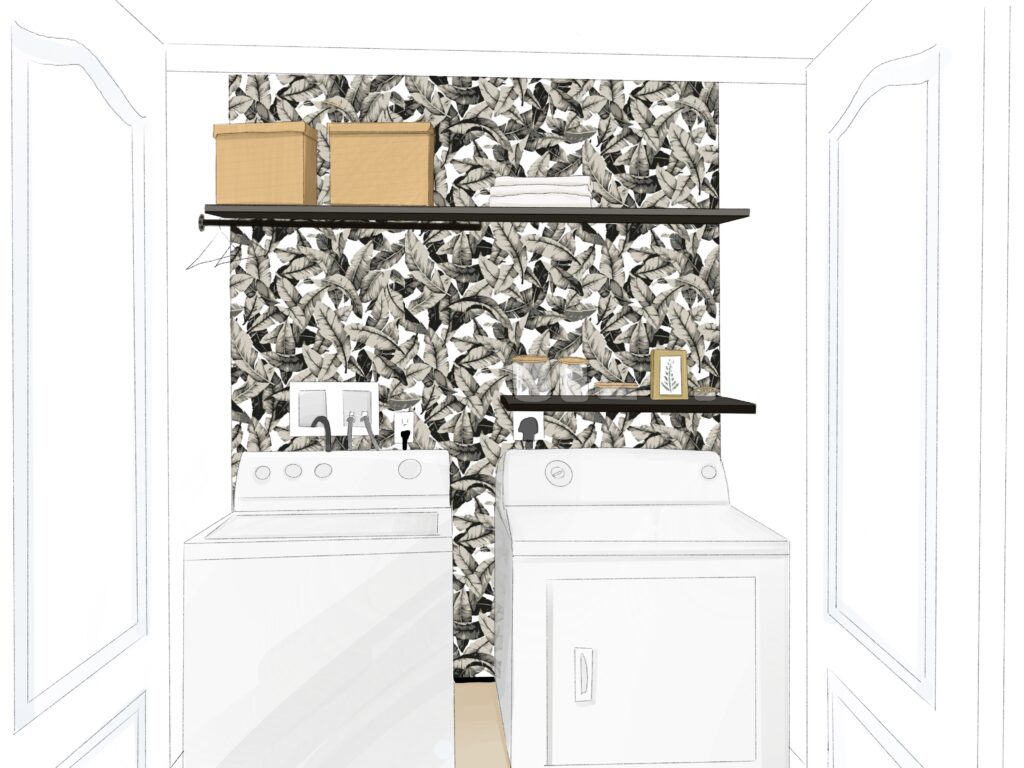
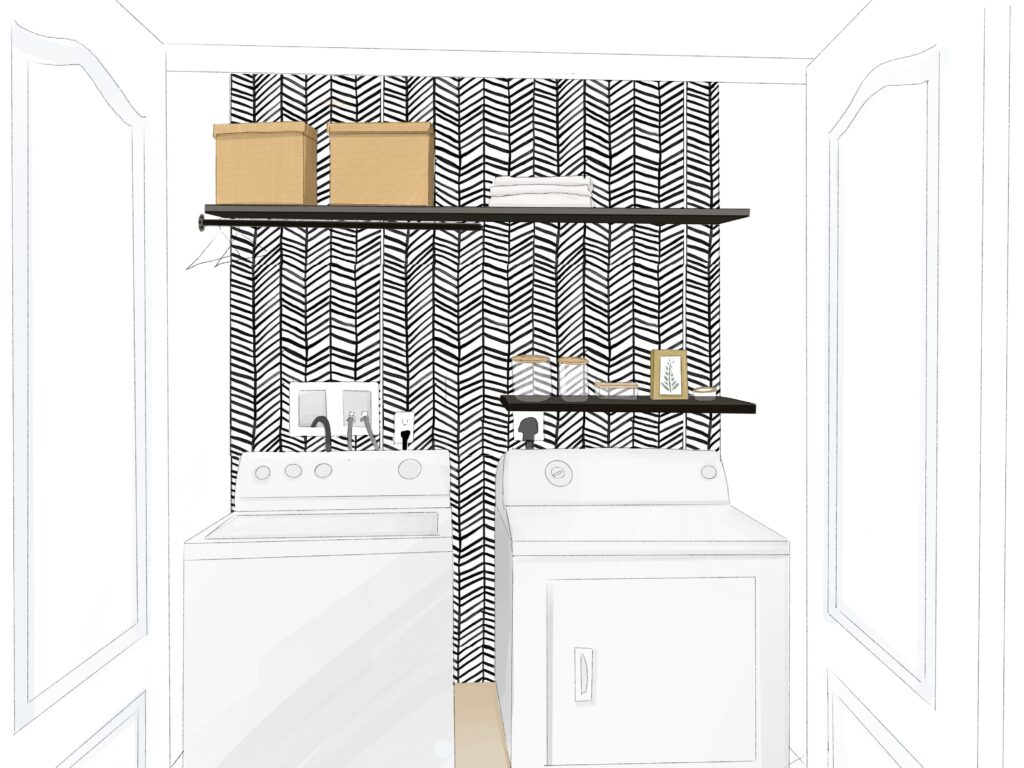
I wanted to make sure that this was budget friendly, not only because this is a small space, but also to hopefully inspire you guys to tackle a small forgotten space in your home while we have some extra time on our hands! While this was a few weeks in the making from a planning perspective (plans below), it only took 48 hours to transform this basic and non-functional laundry closet into something I actually *want* to do laundry in. (yes, you heard it right – I actually WANT to do laundry now… even if its just to stare approvingly at this pretty little space) 😉
Since I pretty much gave you a full tutorial on my stories this weekend, and with a timelapse coming soon (still working through editing 2 days worth of footage), I’ll spare you the nitty gritty details, but give you all the links and advice you need to create a space like this in your home!
Let’s start with the budget. I LOVE shopping my house – this is one of the main ways I keep projects under budget. Shifting things around in your home keeps it fresh, and you won’t get tired of your old decor as easily. For this project, I knew I had the basics covered. I had left over paint, a light that I never used, and some decor odds and ends to make this little space a tad more “instagram-able” 😉I really did’t like the idea of buying decor JUST for a laundry closet that wasn’t on display.
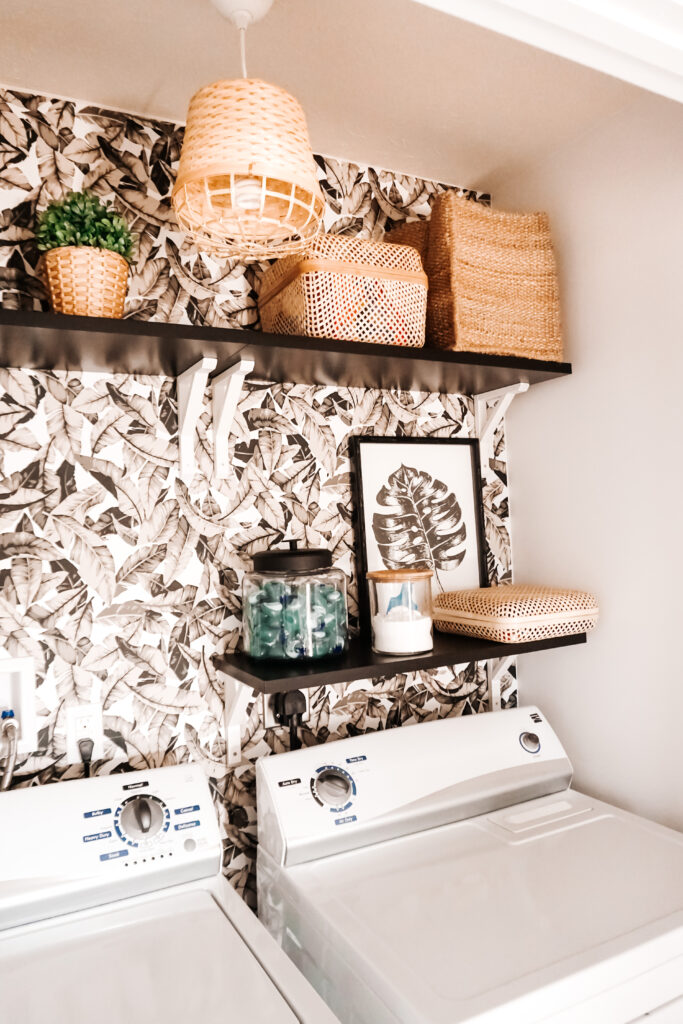
Another way to keep things under budget is to shop clearance. Even if I didn’t have this light on hand, I bought it for under $5 dollars in the clearance section at IKEA – barely impacting my budget if I counted it! I also waited for this wallpaper to be on sale. When I saw that it went on sale, I took that as the extra push I needed to get off the couch and get motivated!
So the wallpaper… if you were with me about a month ago, you know I had a different wallpaper picked out (shown below). This ended up getting back ordered, and it was a blessing in disguise because it ended up pushing me in a direction that went a little more with what I had going on upstairs.
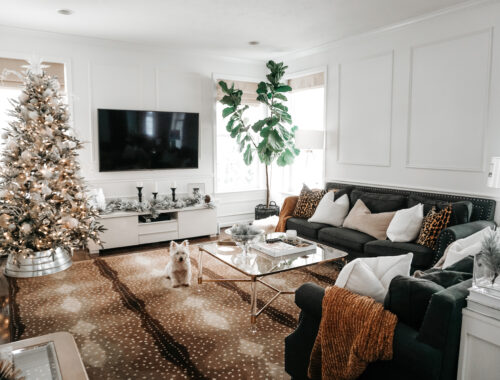
Our guest room has the green version of this wallpaper, and our master and home office are mid-century modern – so this totally complimented both spaces equally!
Lets take a quick break for a few wallpaper tips:
– New paint must cure for 4-6 weeks before installation
– Wipe down your walls before installation (dust will cause the wallpaper to unstick overtime)
– Avoid humid areas (LOL we’re ignoring this one, but just wanted to give you that as a disclaimer in case you’re thinking about a similar project)
– When installing fixtures, frames, really anything to your walls, drill a small pilot hole before adding screws, or drilling a larger hole for anchors. You risk ruining the surrounding wallpaper pattern since the more common peel and stick texture now is a vinyl hybrid, which has a tendency to get caught and stretch around your drill bit and screws.
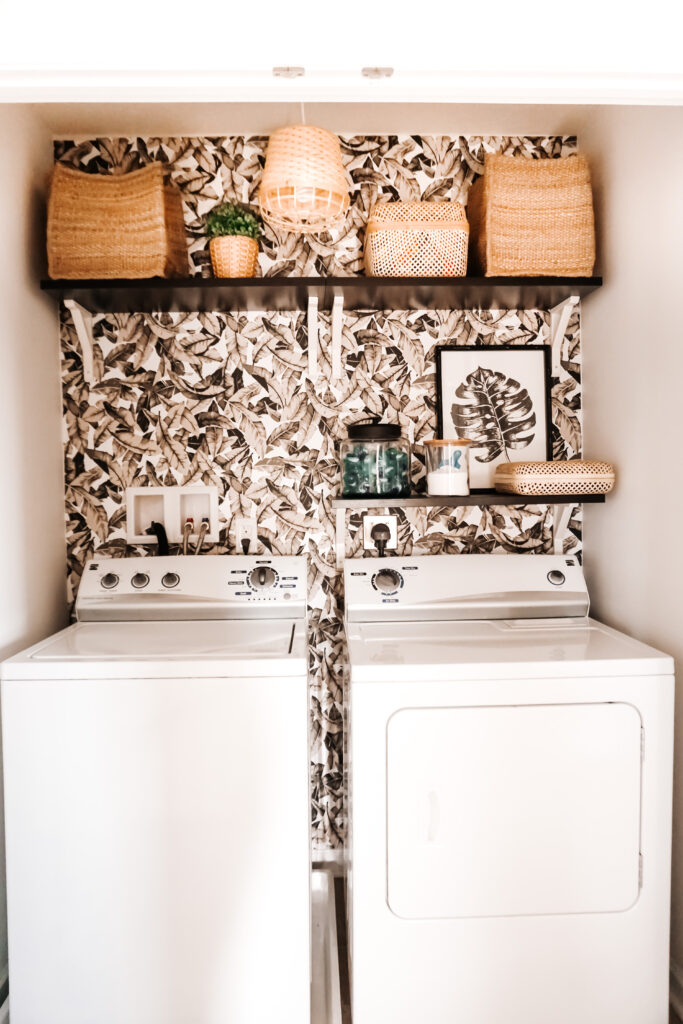
Next, let’s talk about shelving. I needed something with enough depth to store all of my bottles and storage containers, and the length to span from wall to wall. This proved to be a bit tricky, and everything I was pointed to was either a DIY, or a very expensive Etsy store. Since I didn’t feel like this was an “essential” project, I decided to forego going to the local hardware store and hacked my way through IKEA to build my perfect laundry closet.
I bought 3 of these BERGSHULT shelves ($12 each), and 6 of the SANDSHULT brackets ($5 each). While gold metal brackets are definitely more my aesthetic, I decided that anything was better than what I had, and I could always paint them if I changed my mind!
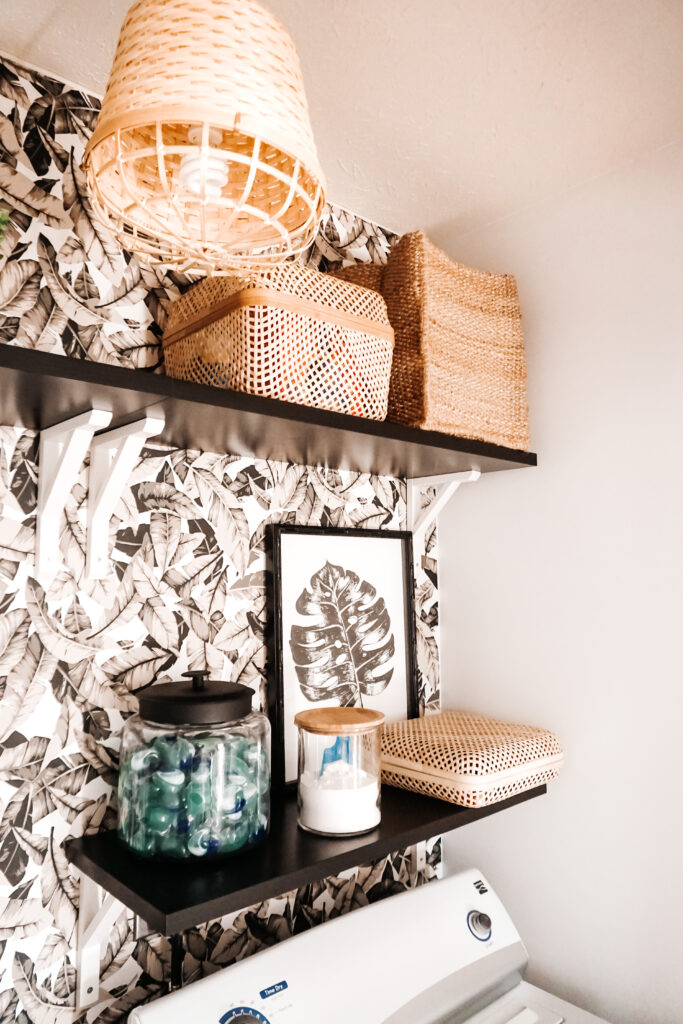
I decided to create two rows of shelves. The old shelf wasn’t functional for every day use for my height, but still too low to hang my husbands shirts. So I decided to raise the shelf and store things I use less frequently (like bleach and duplicate supplies), and keep the every day laundry essentials on the bottom right shelf. This way, when we add the industrial pipe for hanging clothes on the left everything will have its place! *this was one of those elements that I could purchase on etsy for $30-$60, or make it myself when I can go into Lowes for about $10. Even through everything in me wanted to finish this project, and the pictures would look SO much more balanced with a few perfectly curated shirts hanging 😅I opted to save the money and wait for the world to get better for this finishing touch.
Lastly, let’s talk storage and decor!
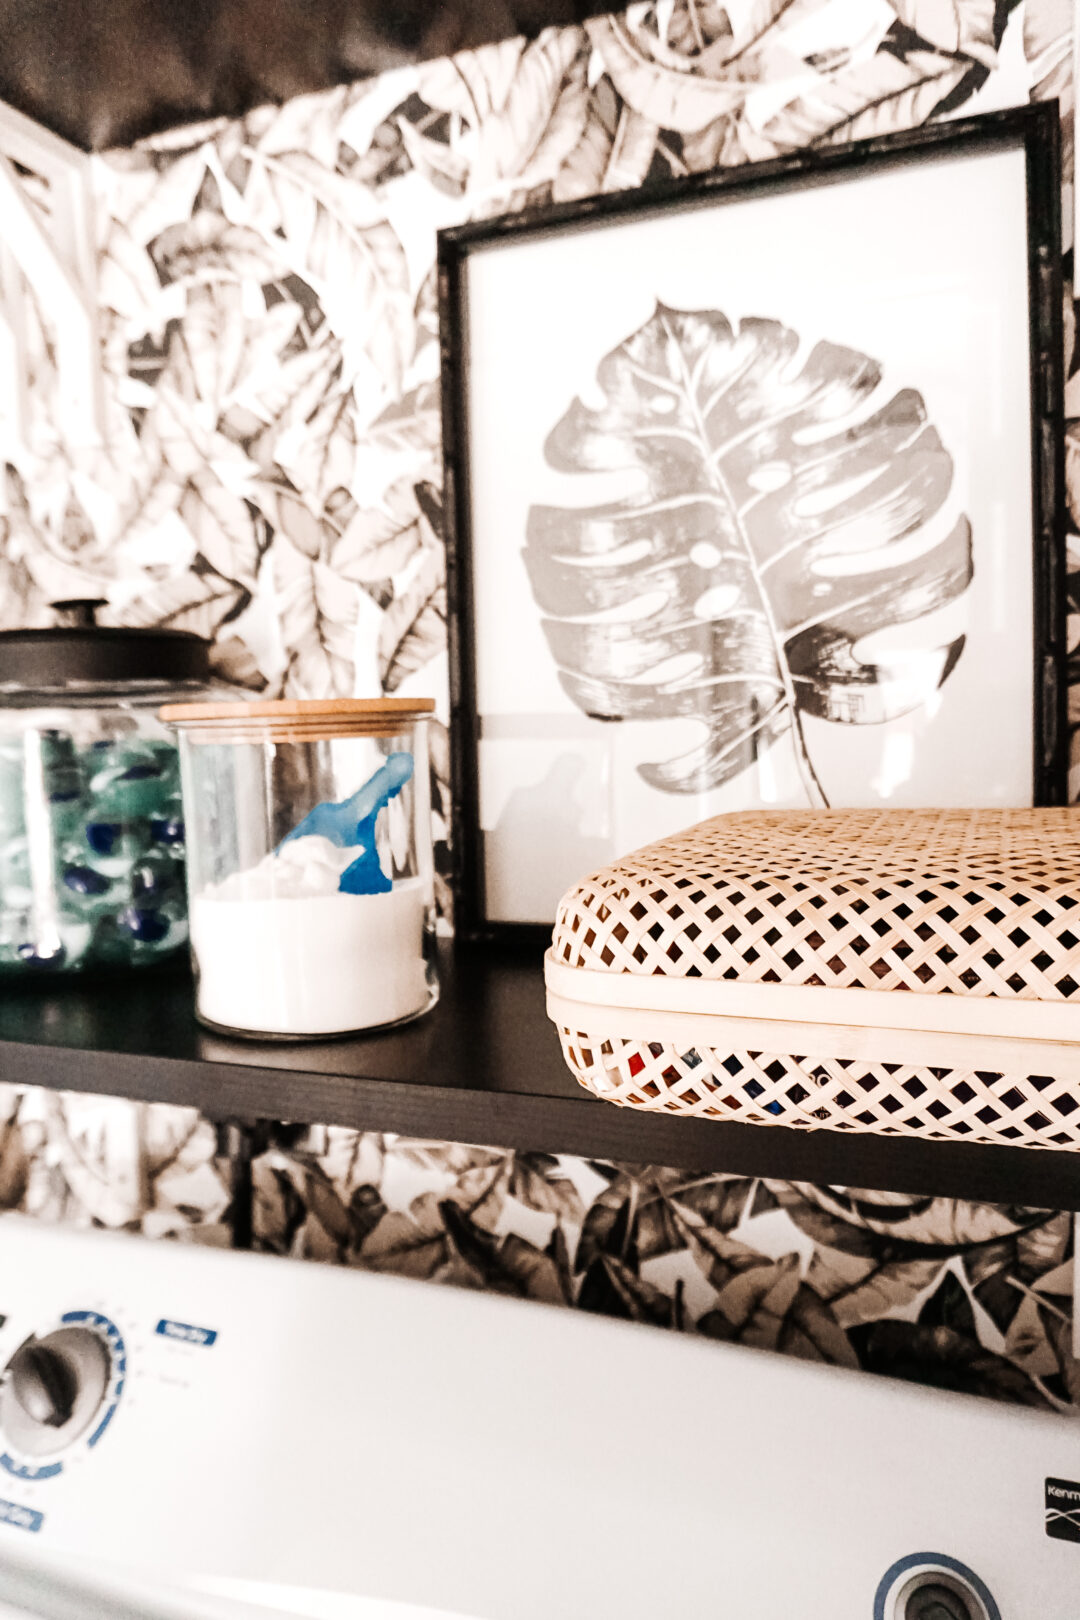
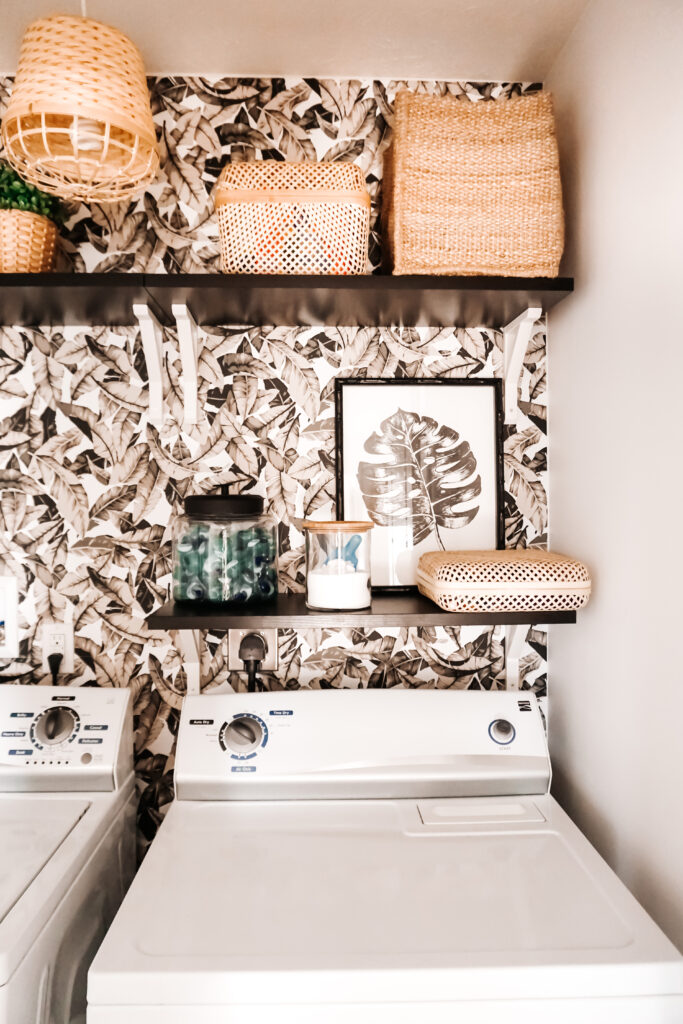
Contained storage is one of the cheapest and easiest ways to upgrade a space. They also are great for hiding unsightly bright colored bottles if you don’t have cabinetry. One way to increase functionality, while also creating more eye-catching space is to decant your products. This applied to your laundry, bathroom, pantry – really anywhere. In my bathroom I decant all of my q-tips, cotton balls and bath salts in little glass jars on my window sill, which is both pretty and more functional than rummaging around in packaging under your sink. I purchased these glass jars with bamboo lids.
Same theory applies to your laundry area! It’s easy for me, because I’ve always used laundry pods, which decant perfectly. I also purchase them at Costco, which means I’m lugging a bulk plastic container off of a shelf, with a adult – I mean child – proof lid on it (anyone else know the struggle 🙄) every time I have to do a dang load of laundry. Instead, I purchased this cookie jar, and dumped in all that would fit, and stored the access in my little overhead bins!

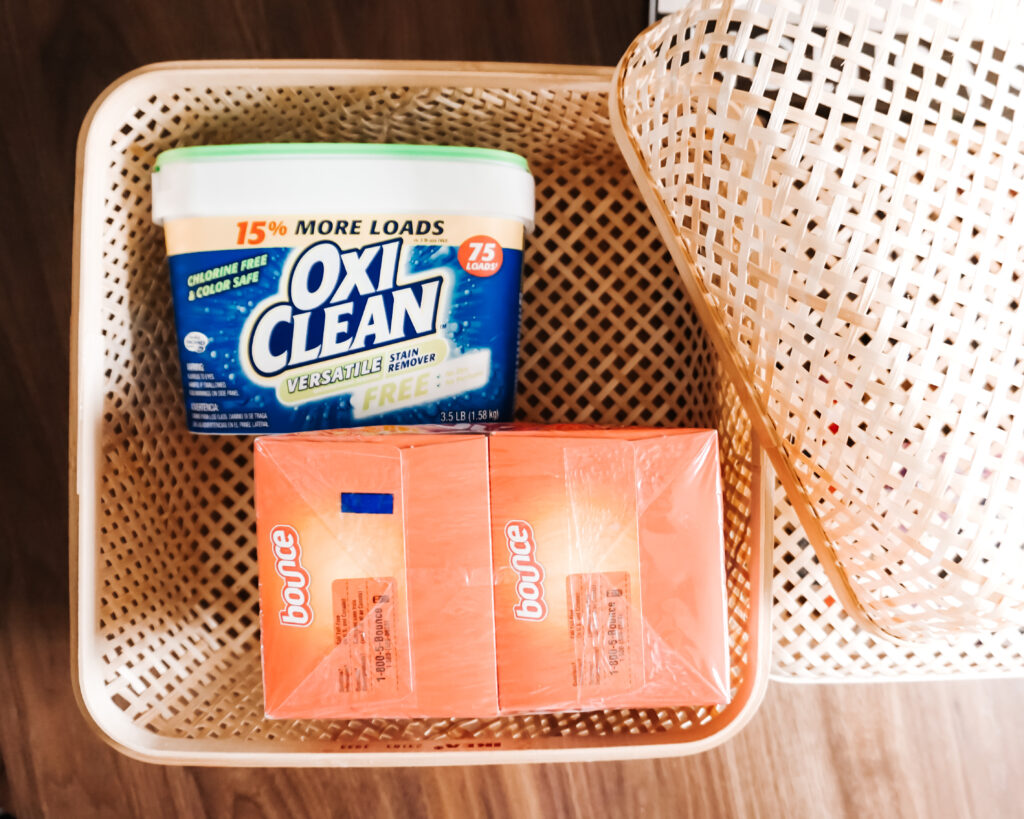
We also use scented beads and oxy clean often, so I dumped those in some air tight bamboo jars with their scoops – voila, a pretty little laundry vignette!
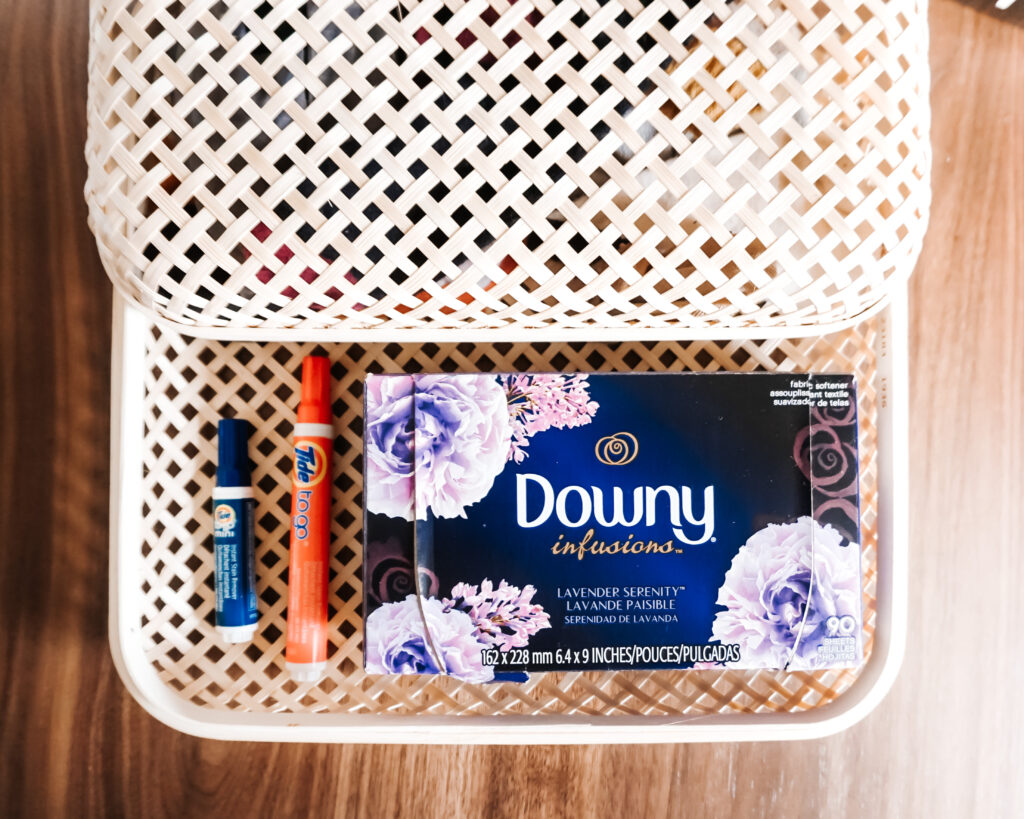
And what about dryer sheets, you ask? I toyed with the idea of unboxing them and putting them in a tray, but that felt like a lot more work than it was worth… So I got a cute little basket with a lid to hide dryer sheets, tide to-go pens, and miscellaneous socks that have no home.
When it comes to decor, again, SHOP YOUR HOUSE. I stole the little wicker basket from the guestroom, and found a random boxwood ball (idk where this even came from) for the top shelf and the photo was another piece I had in the basement in storage that I just hadn’t found a place for yet! If you don’t have extra artwork laying around – no worries. I’m sure you have an extra frame… Go on Etsy (or Pinterest) and download a printable! Or create your own artwork! No better place to put your skills to the test in an area only you see. 😉
So thats a wrap for the laundry room, guys! Let me know what you think in the comments below! I’ll make sure to update this post when we add the drying rack, but for now, its 100x better and more enjoyable than I ever thought this little closet would be!
If you take on a project inspired by this post, take a picture and tag me in it! I’d love to see what you come up with for your home!